
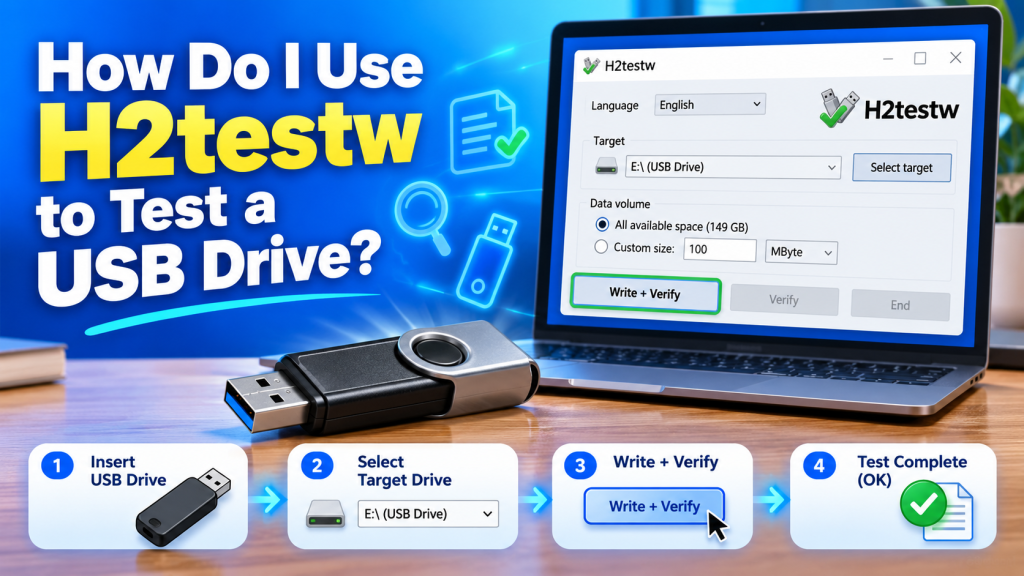
H2testw can be used to test a USB drive by writing test data across its available storage and then reading that data back for verification. This process helps users check whether the drive can actually store the amount of data it claims and whether any part of the memory is damaged or unreliable.
The tool is especially useful for newly purchased USB flash drives or devices bought from unfamiliar sellers. A drive may look normal in Windows while still having fake capacity or storage errors. Running a complete H2testw test can reveal these problems before important files are stored on the device.
Prepare the USB Drive Before Testing
Before starting the test, move any important files from the USB drive to another safe location. Heise recommends formatting the storage device first and using a single partition when you want the most meaningful full-capacity test. Formatting will erase existing data.
A clean drive also allows H2testw to test more of the available storage. The program is designed not to overwrite existing files, so leaving files on the drive reduces the amount of space that can be checked during the test.
Connect the USB Drive to Your Computer
Insert the USB flash drive into a working USB port on your Windows computer. Wait until Windows detects the device, then check its drive letter in File Explorer, such as E:, F: or another assigned letter.
Knowing the correct drive letter is important because H2testw asks you to select the storage location you want to test. Choosing the wrong drive could result in testing a different storage device instead of the intended USB flash drive.
Open H2testw on Windows
Launch the extracted h2testw.exe file. H2testw is portable software, so a traditional installation is not required. Once the program opens, you can select English if the interface initially appears in German.
The main window contains options for selecting the target drive, choosing how much storage to test, and starting the write-and-verify process. The interface is relatively simple, even for users who have never tested storage media before.
Select the Correct USB Drive
Click Select target and choose the drive letter that belongs to your USB flash drive. Double-check the selected drive before continuing, especially if several removable or external storage devices are connected to your computer.
For additional safety, disconnect other removable drives that you do not need during the test. This can make it easier to identify the correct USB drive and reduce the possibility of selecting the wrong storage location.
Choose How Much Space to Test
H2testw allows you to test all available storage or only a specified amount. For a proper capacity check, choosing all available space is generally the better option because it allows the program to examine nearly the entire free area of the drive.
Testing only a smaller amount may be useful when performing an initial check, but it cannot prove that the complete advertised capacity works correctly. Heise notes that full testing can take many hours on large or slow storage devices.
Start the Write and Verify Test
Once the correct USB drive and test size are selected, click Write + Verify. H2testw begins creating test files and writing data across the selected free space. Heise explains that the utility writes generated data in files that can be up to about 1 GB each.
After the writing stage finishes, the verification stage begins. H2testw reads the files again and compares the retrieved information with what was originally written. This comparison allows it to detect data that has been lost, changed, or corrupted.
What Happens During the USB Test?
The test normally has two major stages: writing and verifying. The first stage checks whether data can be written across the storage space, while the second determines whether that same data can be correctly read afterward.
During the process, H2testw may display information such as transfer speeds, tested capacity, elapsed time, and estimated remaining time. Avoid unplugging the USB drive or shutting down the computer while the test is still running.
How to Understand the Test Result
If H2testw completes the test without detecting mismatched data, it indicates that the tested area successfully stored and returned the generated information. This provides useful evidence that the USB drive’s tested capacity was functioning correctly during the test.
If errors appear, the drive may have defective memory, connection problems, or falsely reported storage capacity. Heise notes that counterfeit flash drives can report more storage than they physically contain, causing old or newly written files to become corrupted once the real capacity is exceeded.
What Should You Do If Errors Appear?
Do not rely on a USB drive for important data if it repeatedly fails a full H2testw test. First, try another USB port and repeat the test if you suspect a connection problem. Some adapters or interfaces can also produce unexpected results.
If the same errors consistently return, consider replacing or returning the drive. A newly purchased device that cannot reliably store its advertised capacity may be defective or counterfeit and should not be trusted for backups or valuable files.
How Long Can the Test Take?
The total testing time depends mainly on the USB drive’s capacity and read/write speed. A small, fast flash drive may finish relatively quickly, while high-capacity or slow storage can take several hours.
Heise has documented cases where testing very large storage devices can take more than a day. For a definitive capacity check, however, testing the full available space provides stronger evidence than checking only a small section.
Conclusion:
H2testw makes testing a USB drive straightforward by writing data into the available storage and verifying that the same information can be read back correctly. Preparing the drive, selecting the correct target, and choosing all available space can provide a more complete assessment.
H2testw is particularly useful when you want to check a new or suspicious USB flash drive before trusting it with valuable files. If the complete test finishes successfully, the tested storage has passed the write-and-read verification; repeated errors should be treated as a warning that the device may be unreliable.